Watch the walkthrough
Before you start
You need a CREAO account. If you don’t have one yet, sign up at agent.creao.ai.Your first session
Start chatting
After signing in, you land on the chat page. The sidebar shows navigation (Feed, Agents, Workspaces, Files), your recent threads, and the Agent Brain section where you can manage skills and connectors.You can optionally select or create a workspace from the sidebar to organize your conversations, but it’s not required to get started.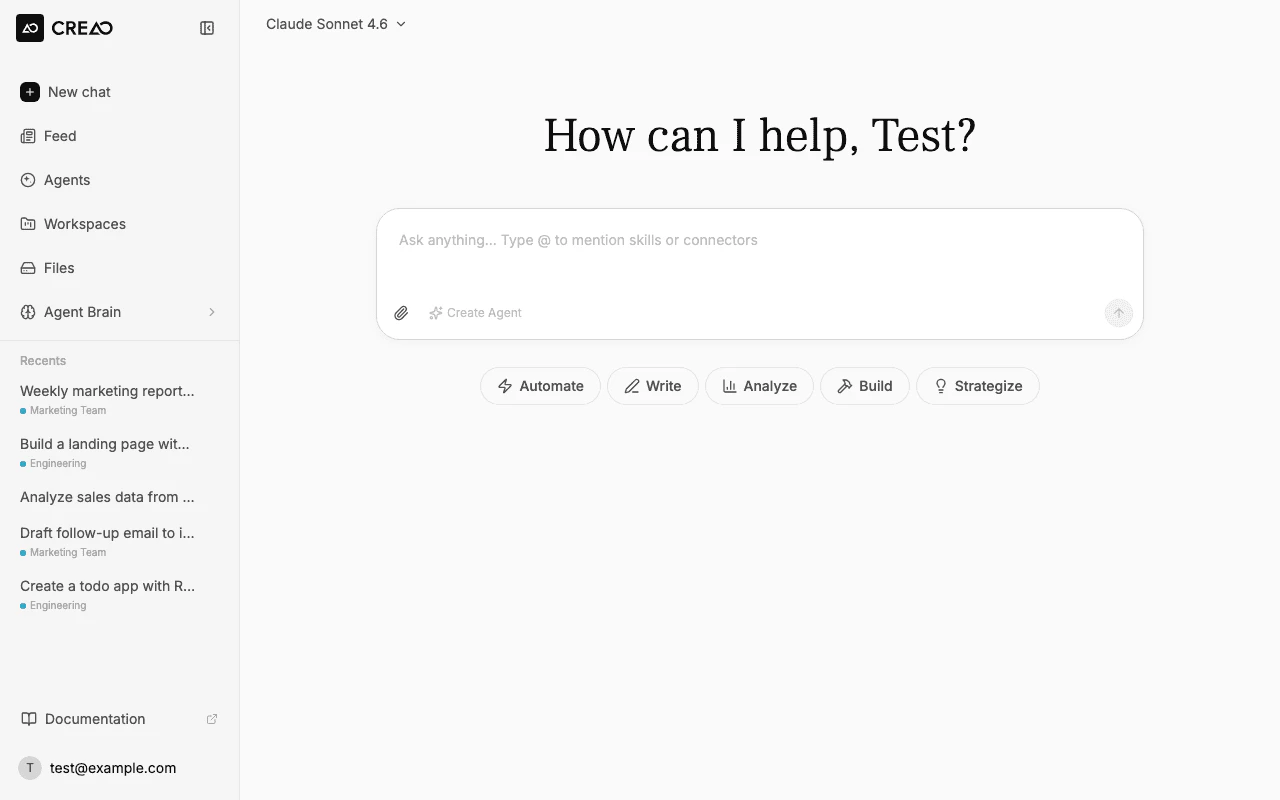
Send your first message
Type a request in the chat input at the bottom of the screen. For example:Press Enter or click the send button. The agent starts streaming its response in real time.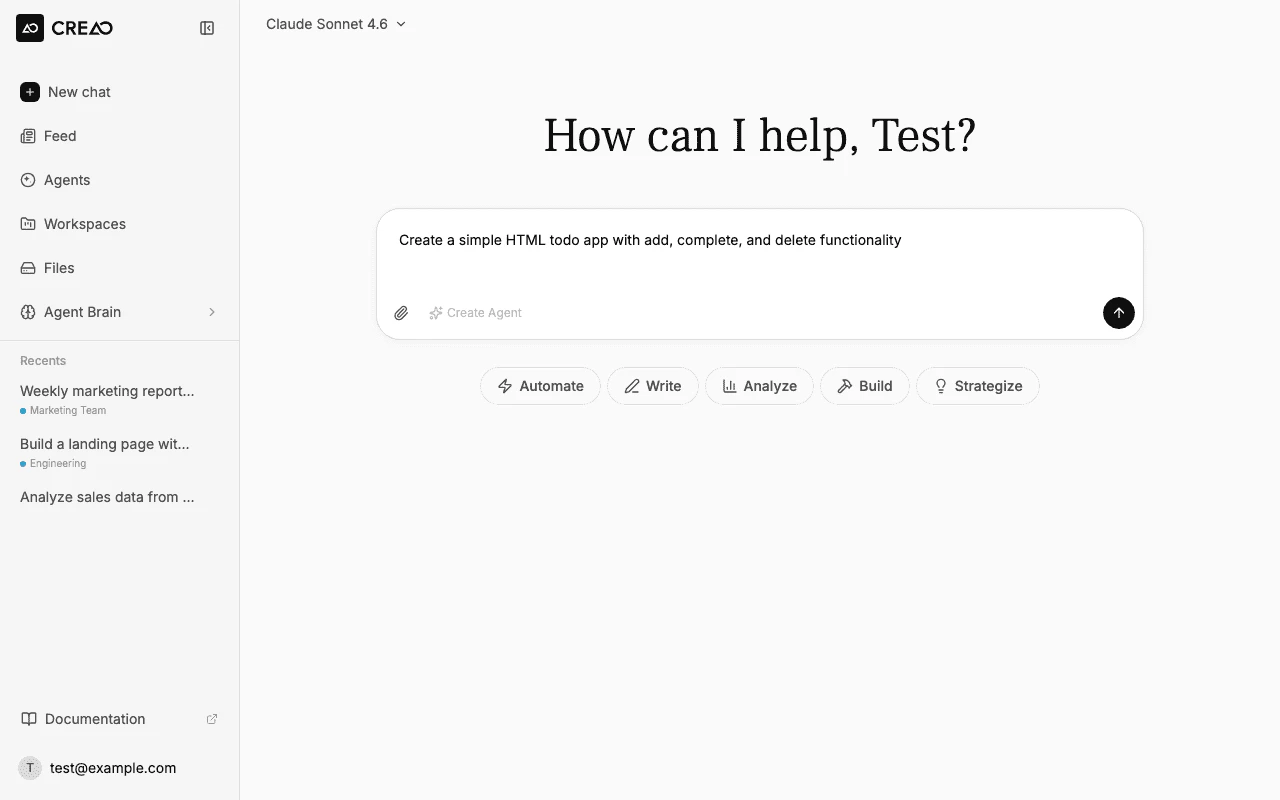
Watch the agent work
The agent executes your request step by step. You’ll see: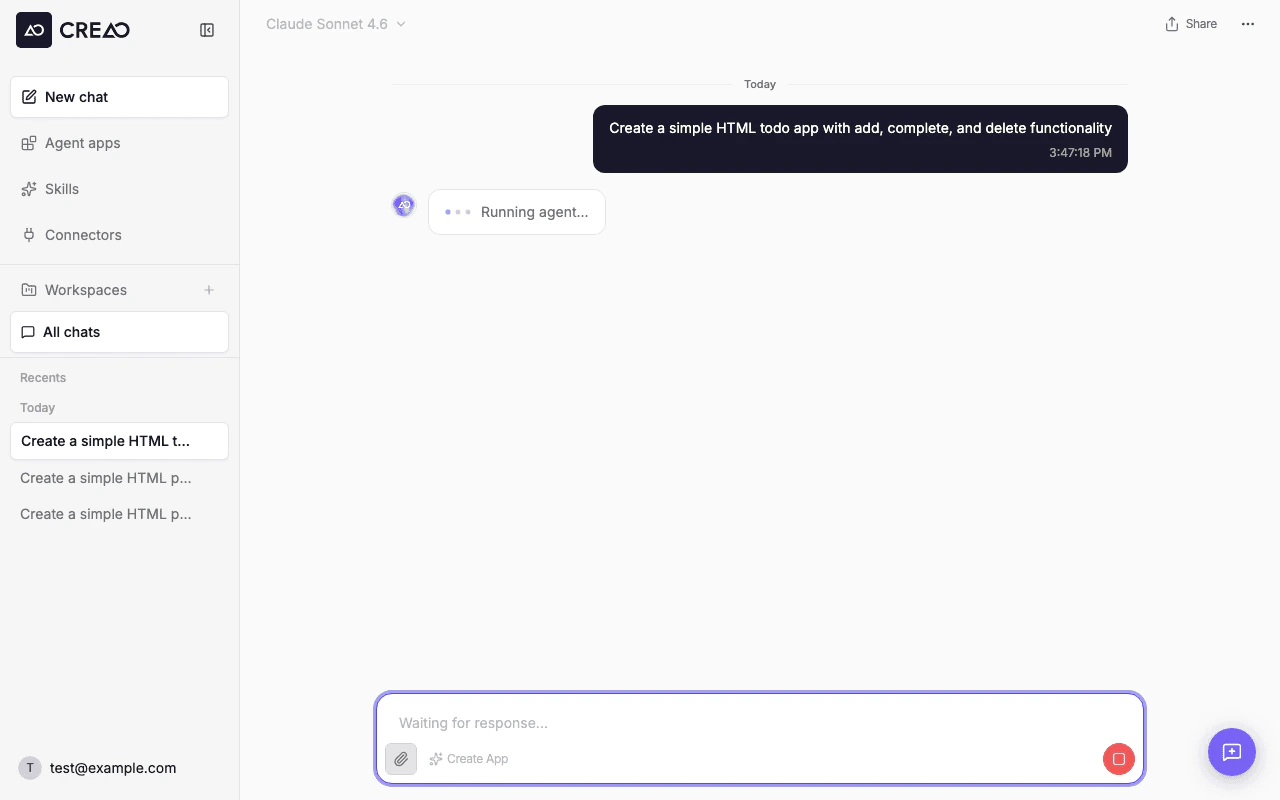
- Thinking indicator — animated dots while the agent processes your request
- Status updates — messages like “Starting sandbox…” or “Running agent…”
- Tool execution — each tool call and its output stream in real time
- Artifact panel — generated files (HTML, SVG, PDF) open in an interactive preview on the right side
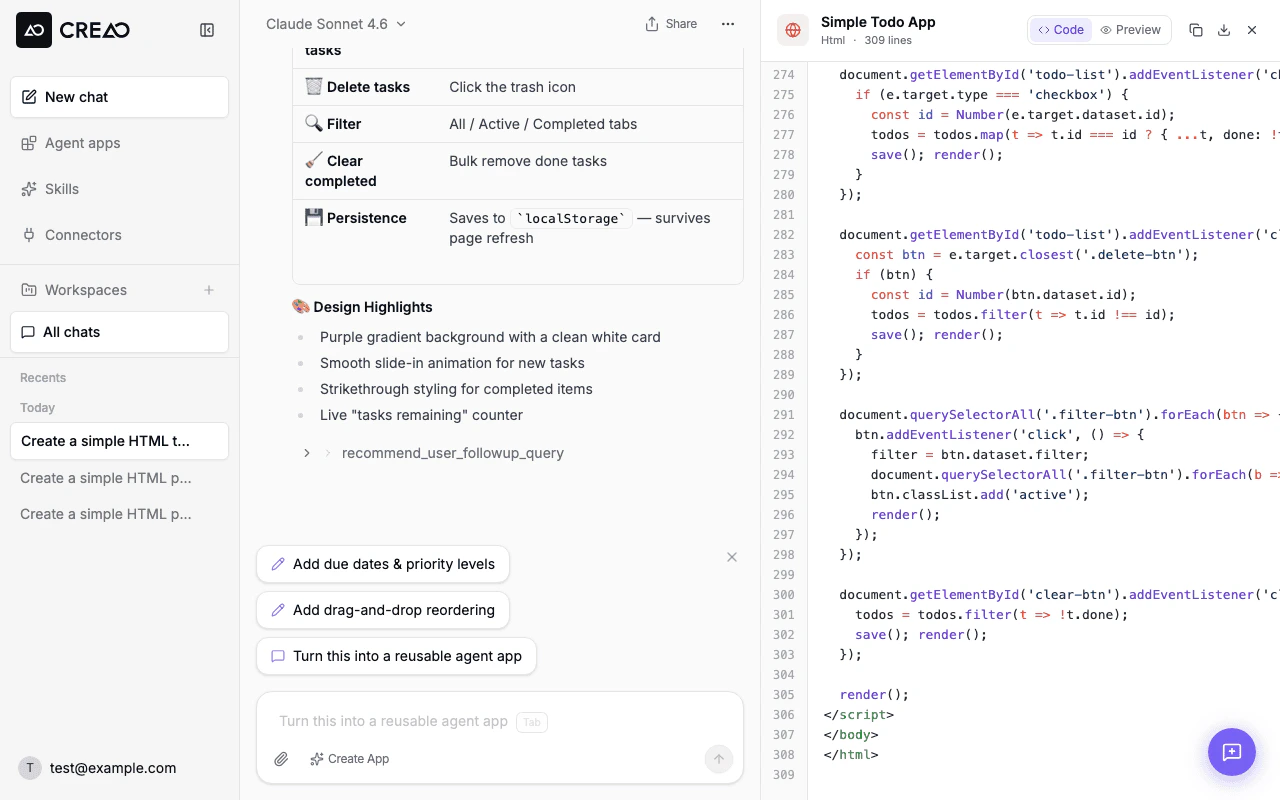
Interact with the artifact
When the agent generates an HTML file, it opens automatically in the artifact preview panel. The result appears as a split view — chat on the left, interactive preview on the right.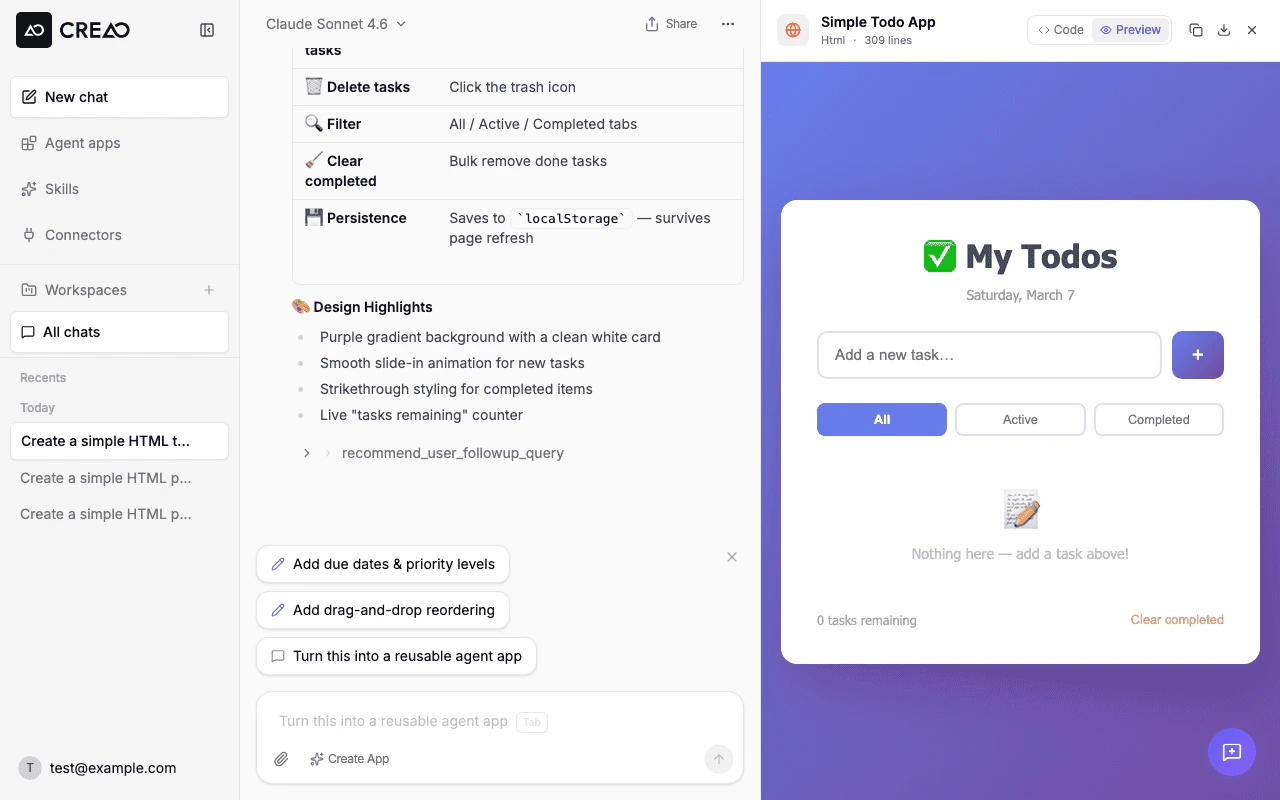
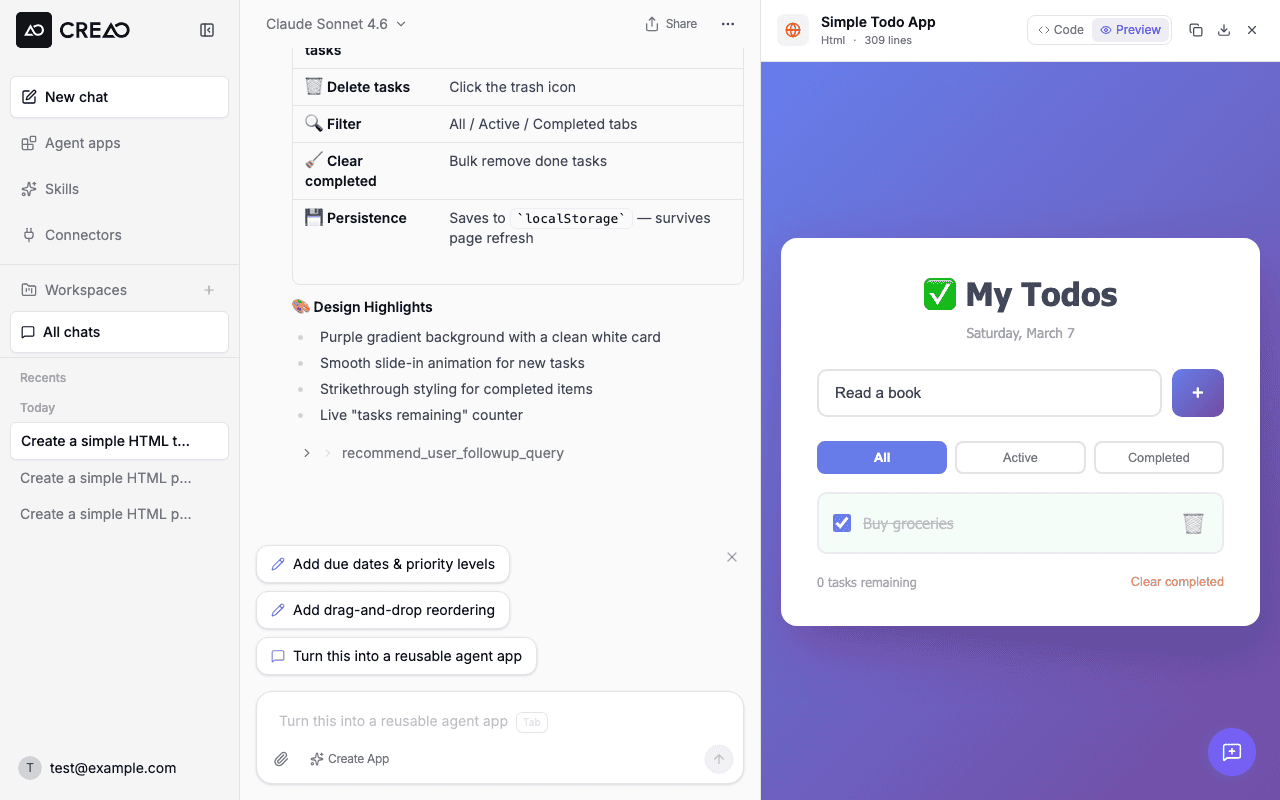
- Download — save the file locally
- Copy — grab the source code to clipboard
- Share — generate a shareable link to the conversation
- Close — dismiss the panel
Continue the conversation
Send follow-up messages to refine the result:The agent builds on the previous context and generates an updated artifact. You can also queue follow-up messages while the agent is still working — they’ll be processed in order.
Save as an agent (optional)
When you’re happy with the result, click Create Agent in the chat input bar. The super agent extracts the workflow into a reusable agent with:
- A structured input form
- The skill that powers execution
- Version history for every iteration
Next steps
Chat interface
Learn about file uploads, @ mentions, voice input, message queue, and more.
Files
Browse, organize, and download uploaded and agent-generated files.
Skills and Connectors
Explore built-in capabilities and how to connect external services.
Agents
Deep dive into creating, versioning, and sharing agents.