Overview
The chat interface is the primary way to interact with CREAO. Type or speak a request in plain language, and the agent streams its response in real time — including text, code, generated files, and interactive artifacts.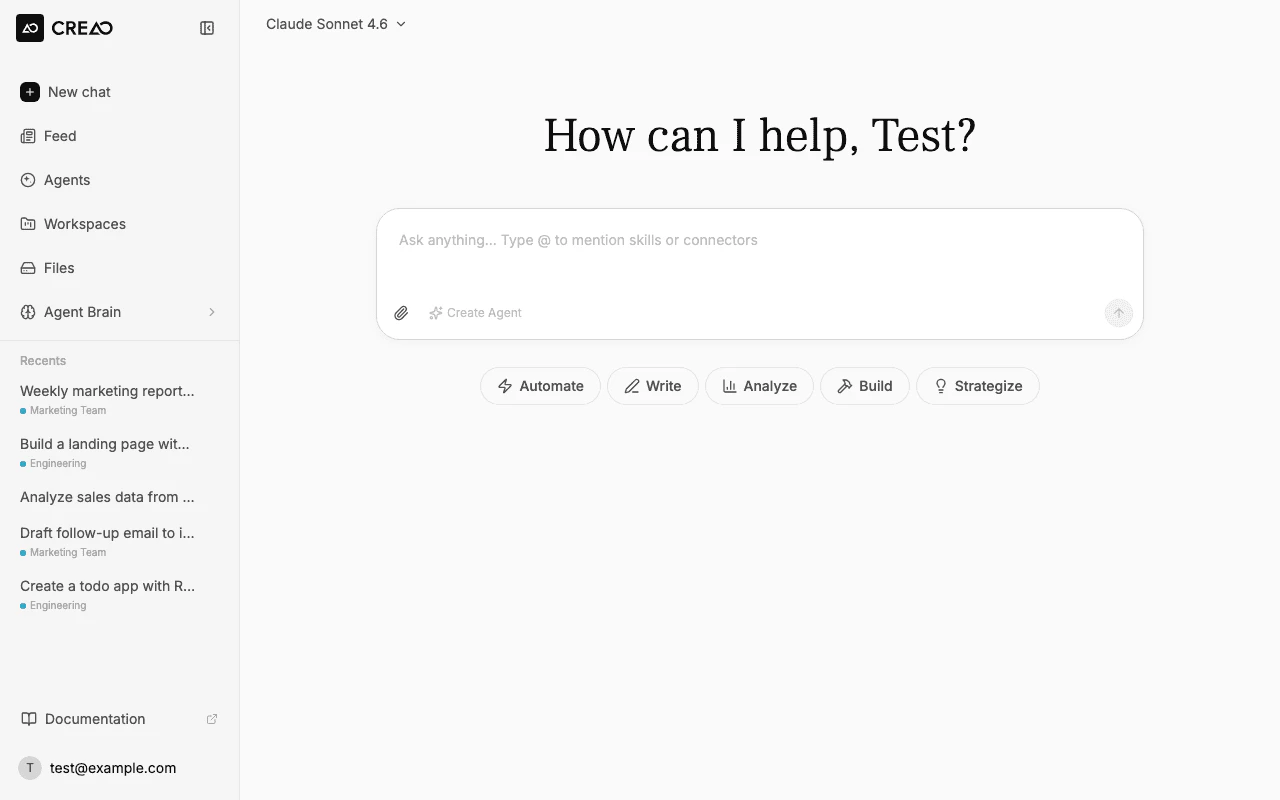
The chat input
The input bar sits at the bottom of the screen. It includes:- Text input — describe what you need in natural language
- Send button — click or press Enter to send
- Stop button — appears during streaming; click to interrupt the agent
- File upload — attach images, documents, and other files for the agent to process
- Voice input — tap the microphone icon to dictate your message
- @ mentions — type
@to reference skills and connectors by name

Voice input
Tap the microphone icon in the input bar to dictate your message instead of typing. The input bar transforms into a recording interface with a live waveform visualization, a timer, and confirm/cancel buttons.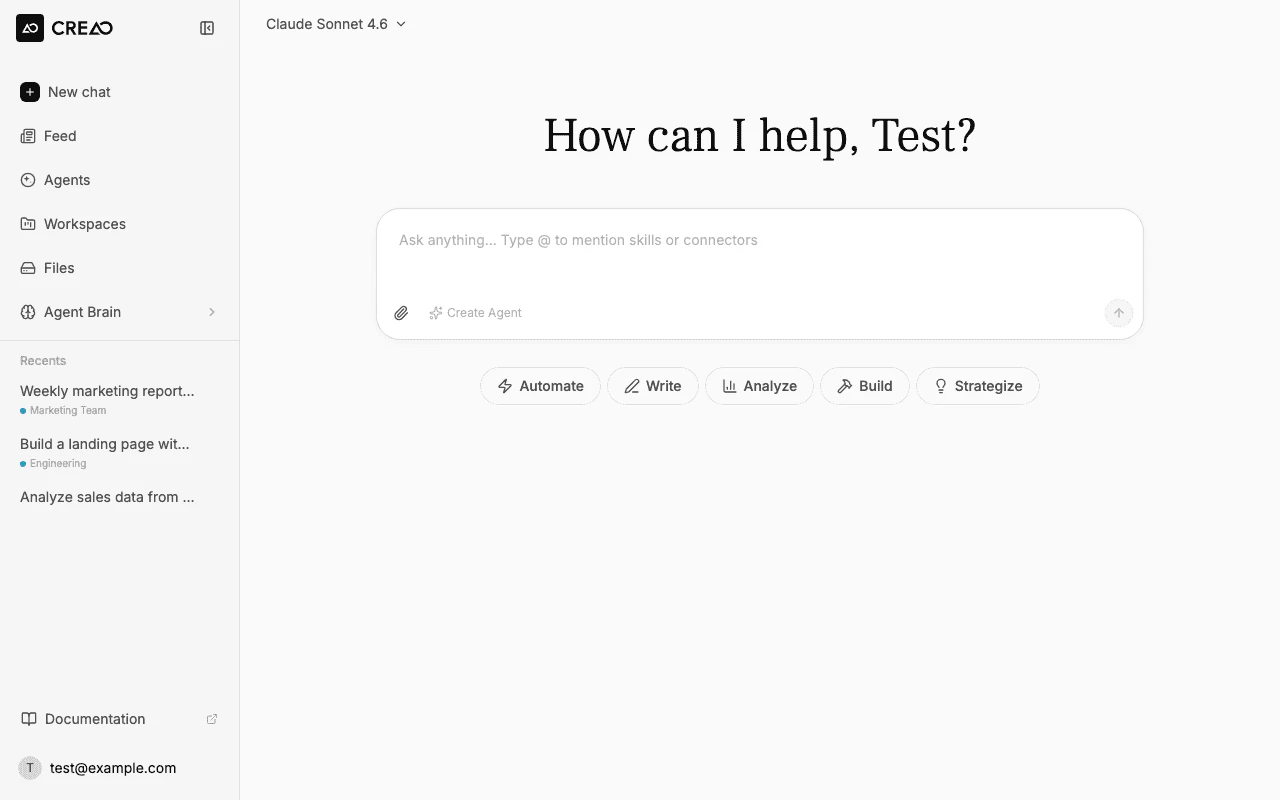
Start recording
Tap the microphone icon in the input bar. Your browser will ask for microphone permission the first time. A brief “activating” spinner appears while the microphone connects.
Speak your message
A waveform visualization appears with a timer showing how long you’ve been recording. Speak naturally — the recording supports up to 2 minutes.
Stop and transcribe
Tap the checkmark to stop recording and send the audio for transcription. A “Transcribing…” indicator appears while the audio is processed.
Voice input uses OpenAI’s speech-to-text model for high-accuracy transcription. It supports multiple languages and works in all major browsers.
Sending messages
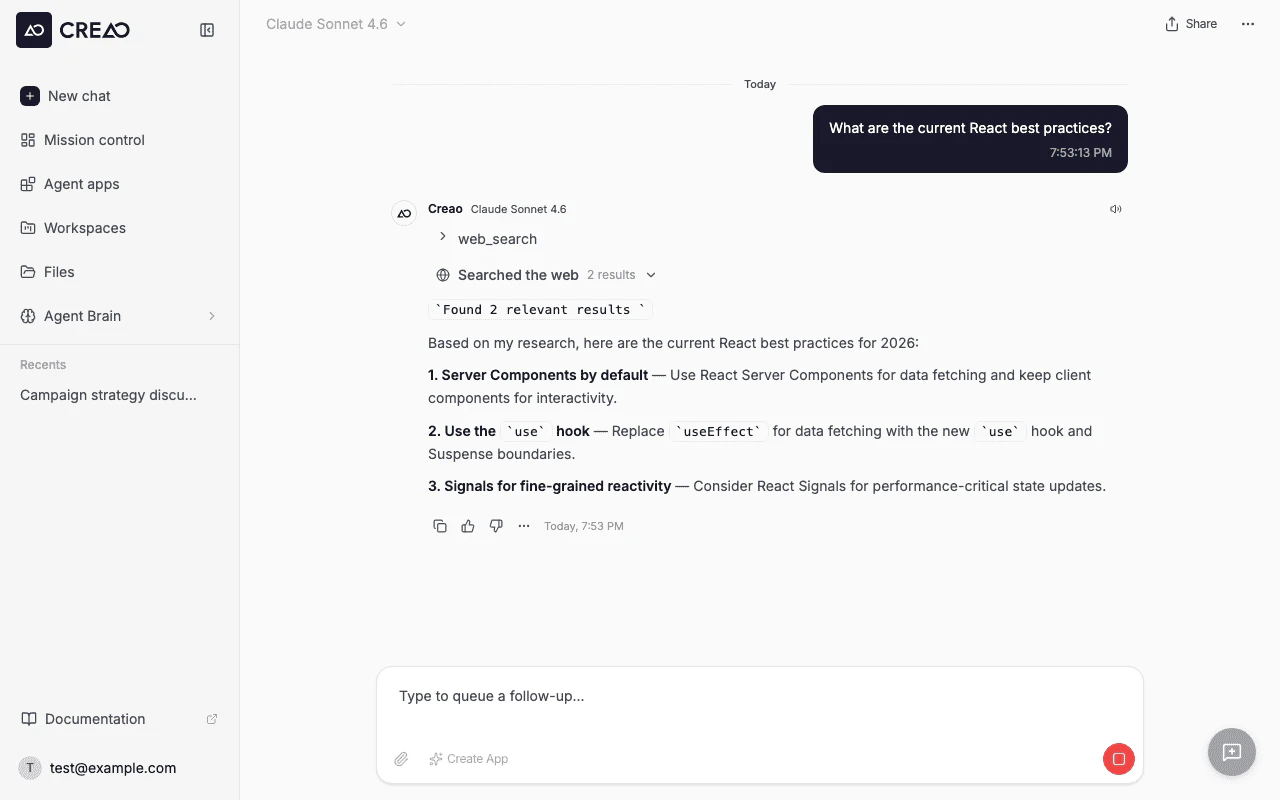
Type your request and press Enter. The agent begins streaming its response immediately.Streaming responses
Responses stream token by token in real time. During streaming you’ll see:- Thinking indicator — animated dots while the agent plans its approach
- Status updates — messages like “Starting sandbox…” or “Running agent…”
- Tool execution — each tool call and its output stream in real time, so you can see exactly what the agent is doing as it works
- Text content — the response appears progressively
- Artifact panel — generated files open in an interactive preview on the right
Premium company data
When you ask for company intelligence, the agent can use native premium data from People Data Labs to enrich the company profile. It can call this capability on your behalf when it helps answer your request, or you can ask for it directly:Premium company data may use credits. CREAO sends only the company identifiers needed for enrichment, such as a website, company name, ticker, LinkedIn URL, or location hint. See Privacy for subprocessor details.
Interrupting the agent
Click the Stop button (red square) at any time to cancel the current response. A confirmation prompt appears before stopping so accidental clicks do not interrupt in-progress work.Queued follow-up messages
You can send additional messages while the agent is still processing your previous request. Instead of waiting for the agent to finish, type your follow-up and send it — it enters a queue and is processed automatically after the current turn completes. Queued messages are saved on the server, so you can close your browser and the queue keeps running in order. Each queued message has its own actions:- Steer — interject the message into the turn the agent is currently working on, instead of waiting for the next one (see Steer the agent mid-task)
- Edit message — bring the message back into the input box to revise before it sends
- Turn off queueing — switch to manual, so the next message waits in the input box for your review instead of auto-sending
- Delete — remove the message from the queue

Steer the agent mid-task
Sometimes you want to correct or redirect the agent while it is still working, rather than wait for it to finish. Type your instruction and choose Steer now — or pick Steer on a message you have already queued. Your steer appears in the conversation immediately, marked “Steering — applies after the current step.” The agent finishes the step it is on (so nothing in progress is lost), then folds your instruction into the same task and adjusts course — without starting a new turn from scratch.
Steering takes effect at the next natural break in the agent’s work, so if you steer during a long step your message lands the moment that step wraps up. If a run cannot be steered, your message automatically falls back to the queue and runs on the next turn instead — it is never lost.
Follow-up suggestions
After the agent finishes a response, contextual follow-up suggestion chips appear inline below the last assistant message. Each chip has a topic-relevant icon and a short prompt you can act on:- Prompt and refine chips — click to paste the suggestion into the input bar, where you can edit it before sending
- Connect chips — click to open the OAuth flow for an integration the agent recommends connecting
- Run app chips — click to immediately launch a suggested agent
Extended thinking
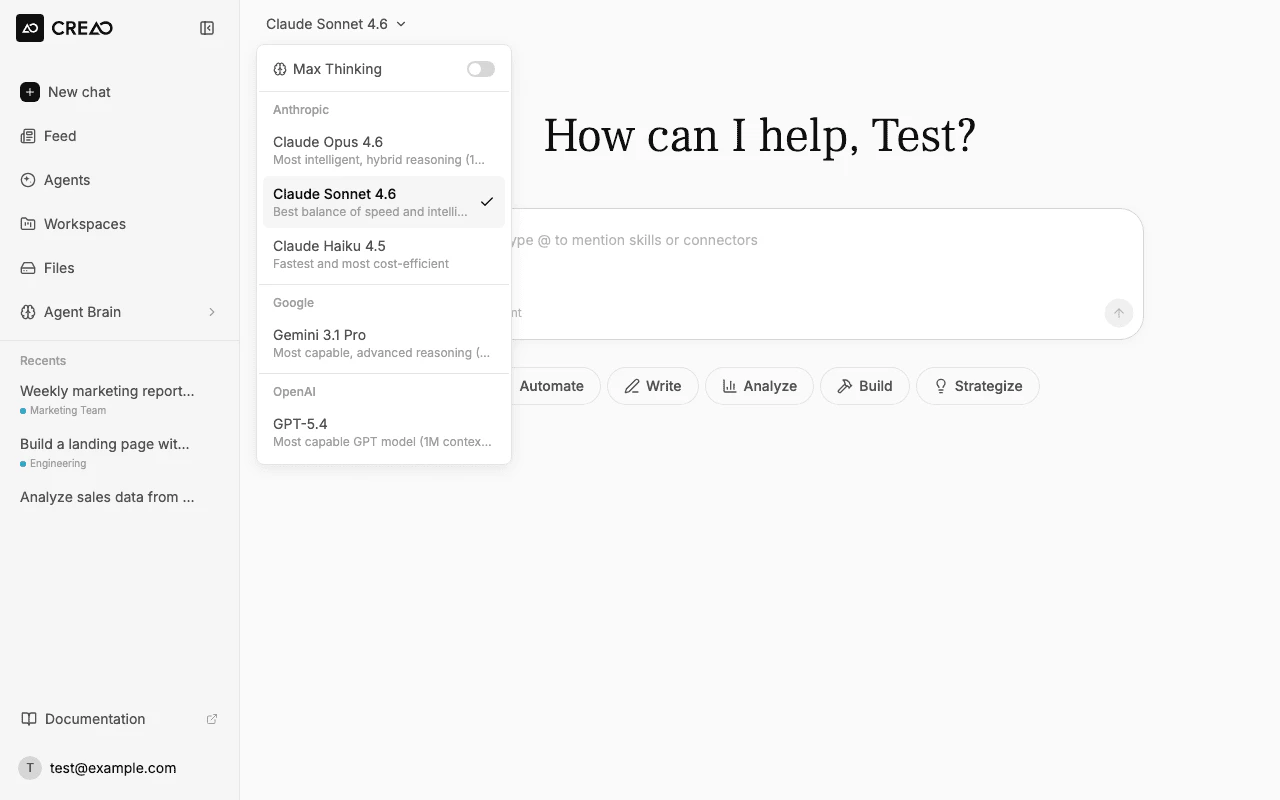
Thinking-capable models can spend extra reasoning time before they respond, which helps with multi-step tasks, intricate code generation, and nuanced analysis. CREAO lets you choose how much effort each model spends. Click the model name in the bottom-left corner of the chat input to open the model selector, then set a model’s effort level:- Low — fastest, with the least reasoning (the default)
- Medium and High — progressively more reasoning time
- Max — the deepest reasoning, available on the top models (Claude Opus 4.6/4.7/4.8 and GPT-5.5)
Higher effort uses more credits per response. If a model runs out of thinking budget mid-response, the agent automatically retries so you still get a complete answer.
Artifacts in chat
When the agent generates an HTML page, SVG, PDF, or other file, an artifact panel opens on the right side of the screen with an interactive preview. An artifact chip also appears in the chat message so you can reopen the panel later.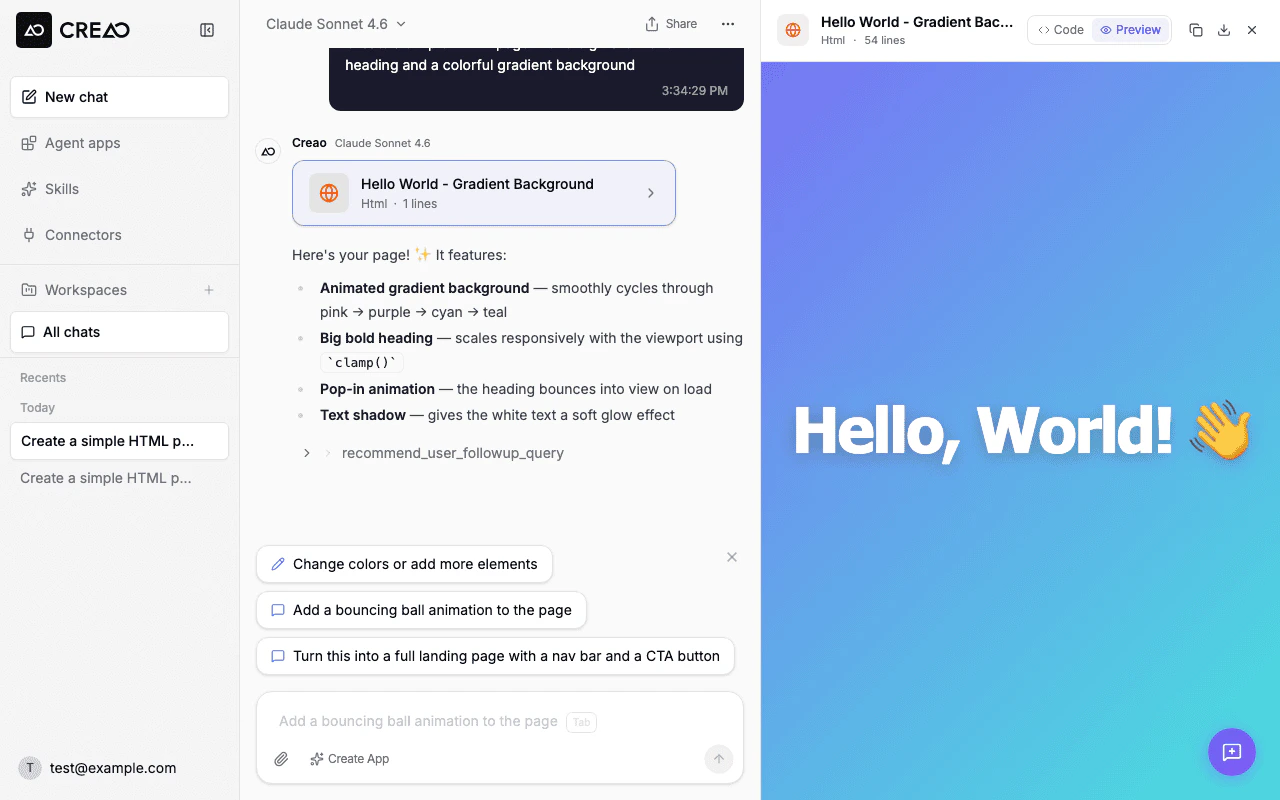
Generated HTML pages are fully interactive — buttons, forms, modals, and localStorage all work in the preview panel. You can also switch to Code view, download the file, or copy the source.
Dynamic dashboards
When you ask the agent to analyze data, compare metrics, or produce a visual summary, it can render an interactive dashboard directly in the chat. Dashboards appear inline with KPI cards, charts, tables, and progress bars — all streaming progressively as the agent generates them.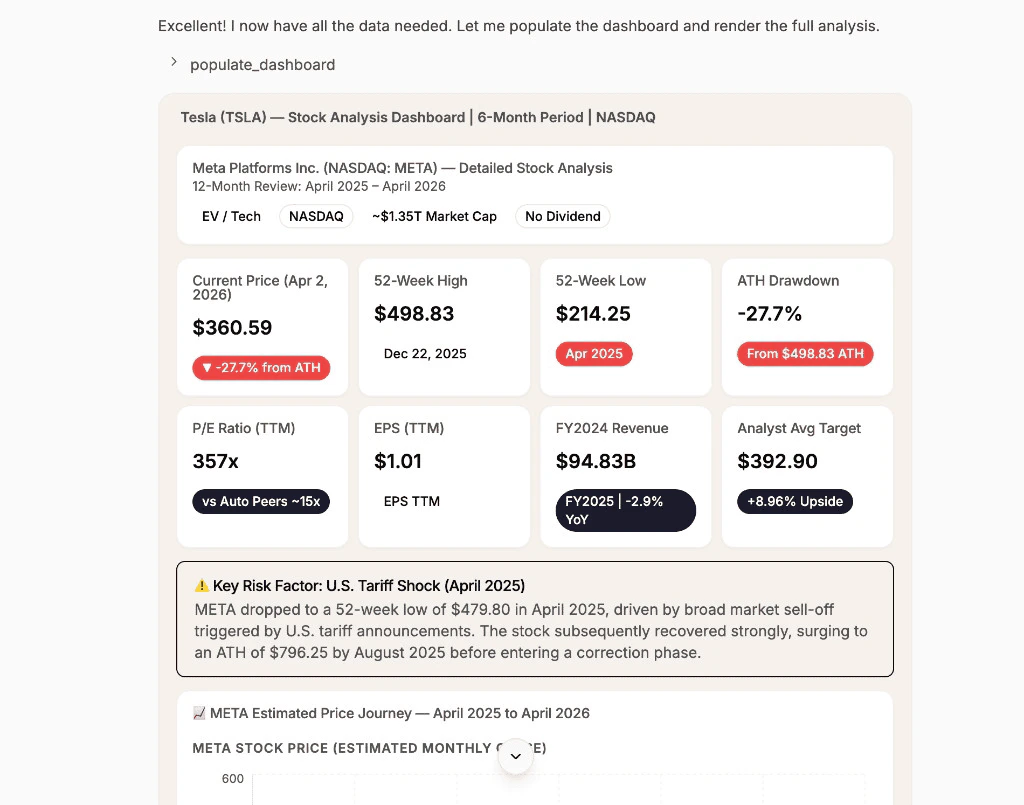
- KPI cards — headline metrics with badges for context (growth rates, comparisons)
- Charts — area charts, bar charts, line charts, and professional candlestick charts for stock data
- Tables — financial comparisons, analyst ratings, quarterly breakdowns
- Alerts — callouts for key events or risk factors
- Progress bars — visual indicators for analyst consensus, ratings distributions

File uploads
Click the paperclip icon or drag files into the chat to attach them. Supported file types include:- Images (PNG, JPG, GIF, WebP)
- Documents (PDF, TXT, CSV)
- Code files (HTML, CSS, JS, Python, etc.)
@ Mentions
Type@ in the chat input to open a menu of available skills and connectors. Select one to reference it in your message:
Text-to-speech playback
Click the three-dot menu (…) on any assistant message and select Summarize & read aloud. The agent automatically summarizes long or complex responses into concise spoken sentences and plays them back as natural-sounding audio. Click again to stop playback.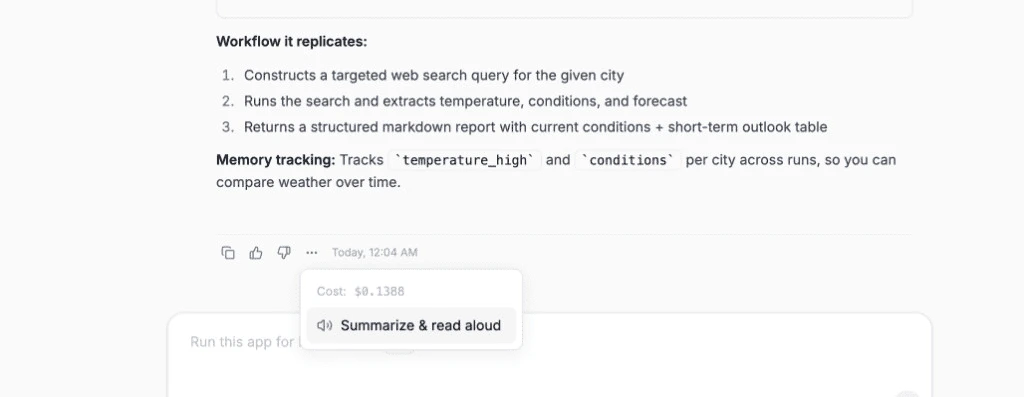
Thread sharing
Share any conversation as a read-only public link. Click the share icon in the thread header to generate a shareable URL. Anyone with the link can view the full conversation — including messages, artifacts, and generated files — without needing a CREAO account. Shared threads are read-only. Recipients can browse the conversation and download artifacts, but cannot send messages or modify the thread. To revoke access, click the share icon again and disable the link. Previously shared URLs will stop working immediately.Reconnecting expired integrations
If an integration token expires while the agent is working, a Reconnect card appears inline in the chat with a button to re-authorize. Click it to open the OAuth popup — once you complete the flow, the agent automatically retries the action that failed. No need to navigate to settings or restart the conversation. Each provider shows at most one reconnect card per conversation to avoid clutter when multiple tools fail for the same expired token.Conversation history
Each workspace maintains its own conversation history. You can:- Continue a conversation — click any thread in the sidebar to resume it
- Start fresh — click the New chat button to begin a new thread
- Pin important threads — keep frequently referenced conversations accessible
Thread sidebar
The left sidebar shows your recent threads organized by workspace. Each thread displays its title (auto-generated from the first message) and timestamp.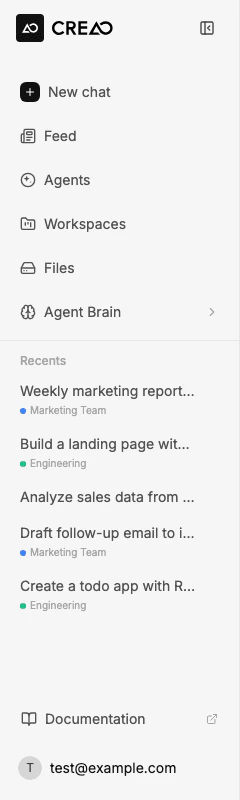
Workspaces
Workspaces are the organizational unit for your conversations, skills, connectors, and agents. Switch between workspaces using the dropdown at the top of the sidebar. Each workspace has its own:- Conversation history
- Enabled skills and connectors
- Agents
- File storage
You must select a workspace before using the chat. The agent’s available capabilities depend on which skills and connectors are enabled in the active workspace.
Language support
The chat interface is available in multiple languages: English, Portuguese (Brazil), Chinese (Simplified), French, Spanish, Japanese, Korean, and German. Your browser language is detected automatically, and the entire UI — including buttons, menus, status messages, and labels — adapts to your preferred language. Your language preference is saved to your account and synced across devices. When you log in on a new browser or device, CREAO restores your preferred language automatically. Change it any time from Account Settings.Keyboard shortcuts
| Shortcut | Action |
|---|---|
| Enter | Send message |
| Shift + Enter | New line in message |
| @ | Open skill/connector mention menu |