Overview
Workspaces are organizational containers that group related agents and files together. Think of them as project folders — each workspace has its own file system, a collection of assigned agents, and a dedicated view in the sidebar. Use workspaces to:- Organize by project — keep all agents and files for a client, product, or initiative in one place
- Manage shared files — upload reference documents, images, and data that the super agent can access across conversations
- Group agents — assign agents to one or more workspaces so they appear together and share context
Creating a workspace
Open the create dialog
In the sidebar, find the Workspaces section and click the + button next to the heading.
Name and configure
Enter a name for your workspace and optionally select agents to include from the start.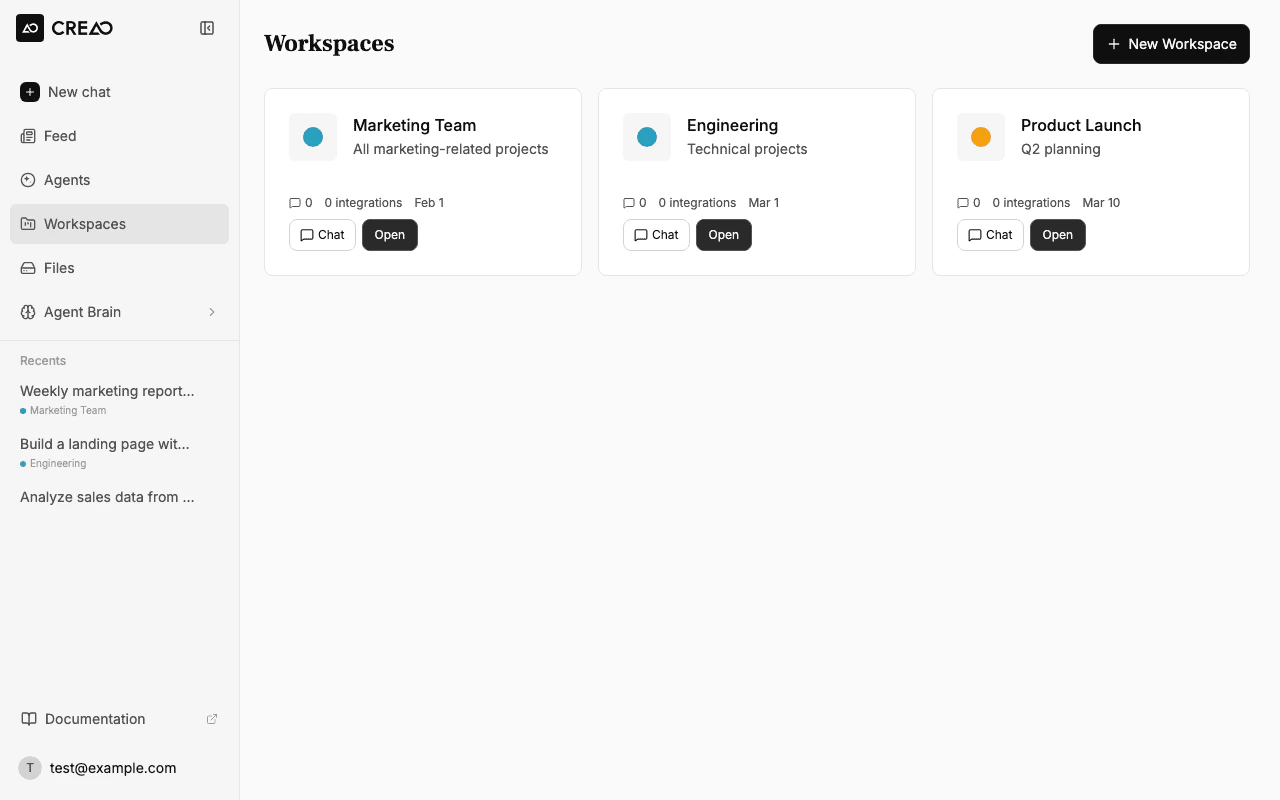
Workspaces listing
You can also view all your workspaces at a glance from the Workspaces page (accessible via the sidebar). Each workspace appears as a card showing its name, description, and resource counts.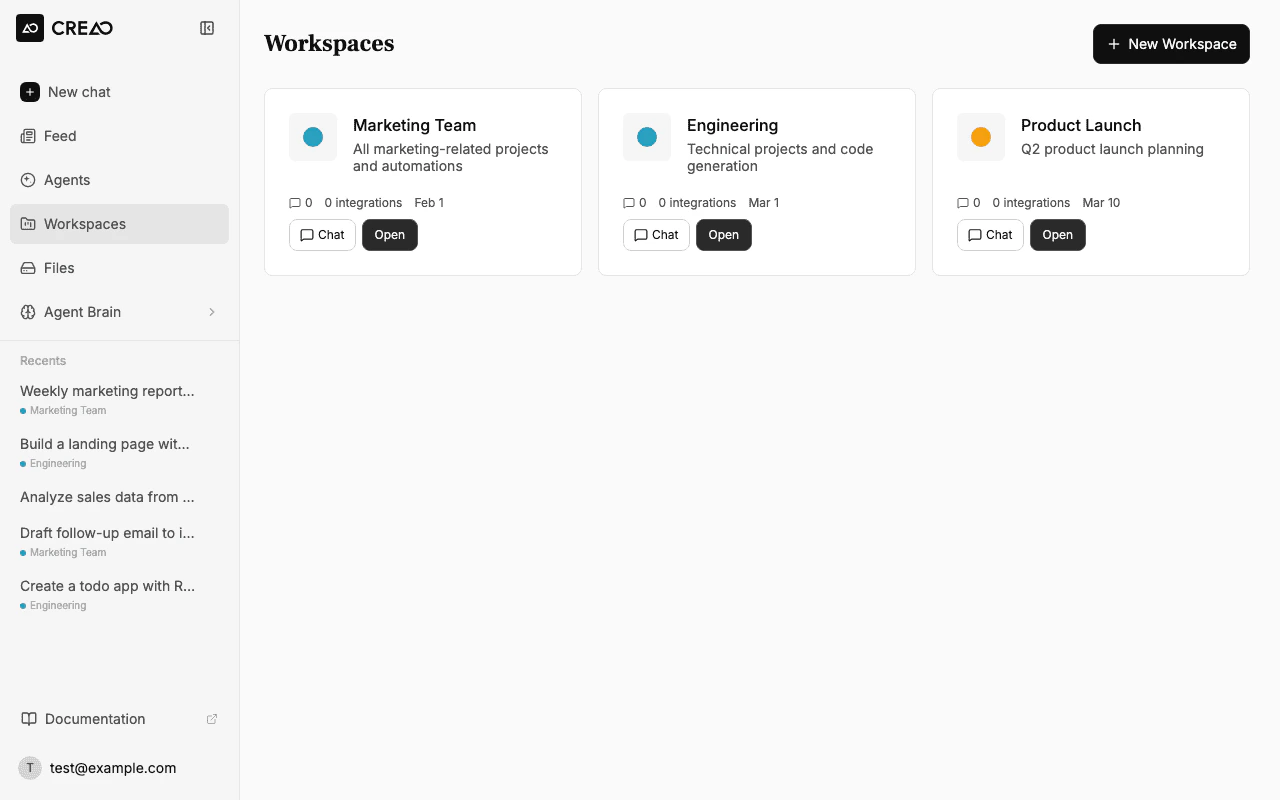
The workspace file system
Each workspace has its own file storage area. Files uploaded to a workspace are persistent — they survive across chat sessions and are available to any agent assigned to that workspace.Uploading files
From the workspace edit panel, click the Upload button or drag and drop files directly into the Files section. Files generated during workspace chat sessions also appear here automatically.
Supported file types
| Category | Formats |
|---|---|
| Documents | PDF, DOCX, XLSX, PPTX, CSV, TXT |
| Images | PNG, JPEG, GIF, WebP, SVG |
| Code | JS, TS, PY, HTML, CSS, JSON |
| Archives | ZIP |
How files are organized
Files in a workspace are displayed in two sections:- Images — a visual grid of thumbnails for quick browsing. Click any image to open a full-size preview.
- Documents — a list view with file names, sizes, and upload dates. Click to download.
Using workspace files in chat
When you start a conversation within a workspace context, the agent has access to all files in that workspace. You can reference them naturally:Adding agents to a workspace
Agents can belong to multiple workspaces simultaneously, making it easy to reuse the same agent across different projects.Click + Add
In the Agents section, click the + Add button. A search picker appears showing all your available agents — including agents already assigned to other workspaces. Search by name or description to find the right one.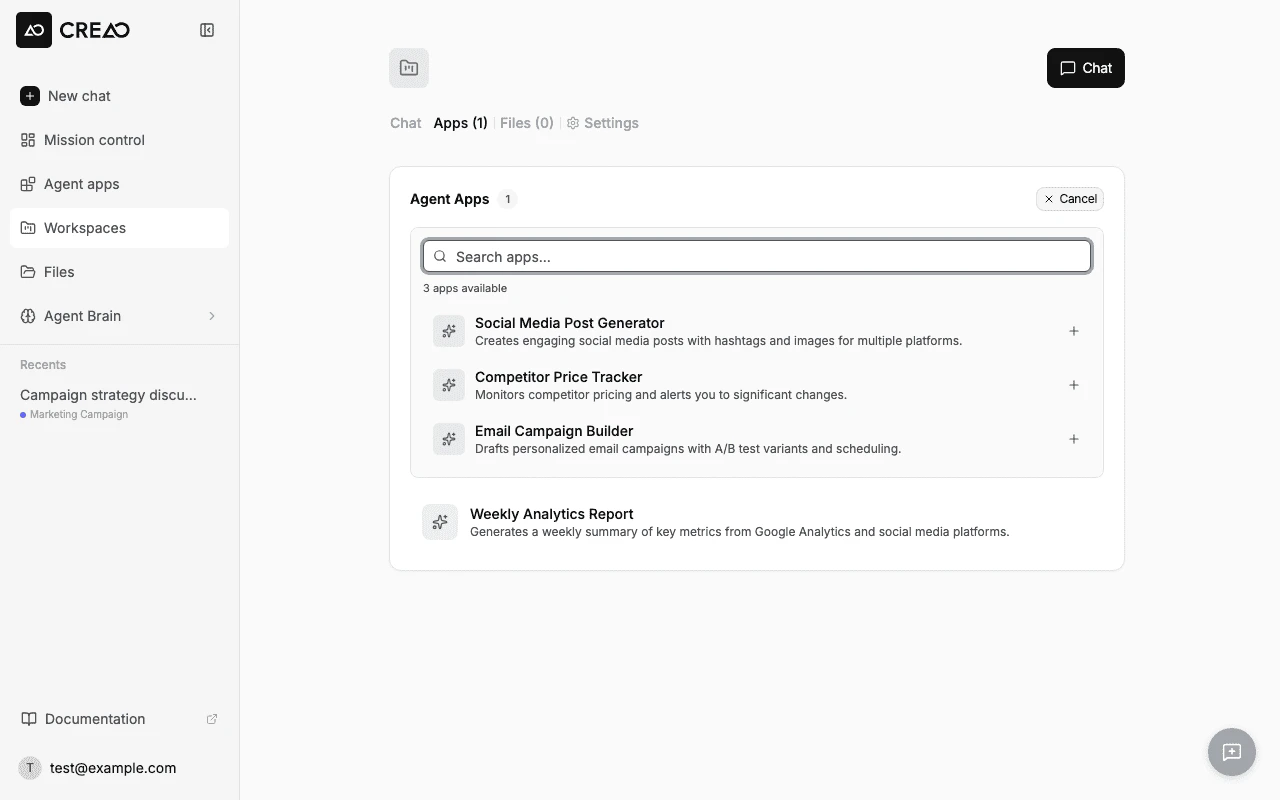
Removing an agent from a workspace
Click the × button on any agent card in the workspace to unassign it. The agent itself is not deleted — it remains available in any other workspaces it belongs to and can be reassigned later.Workspace in the sidebar
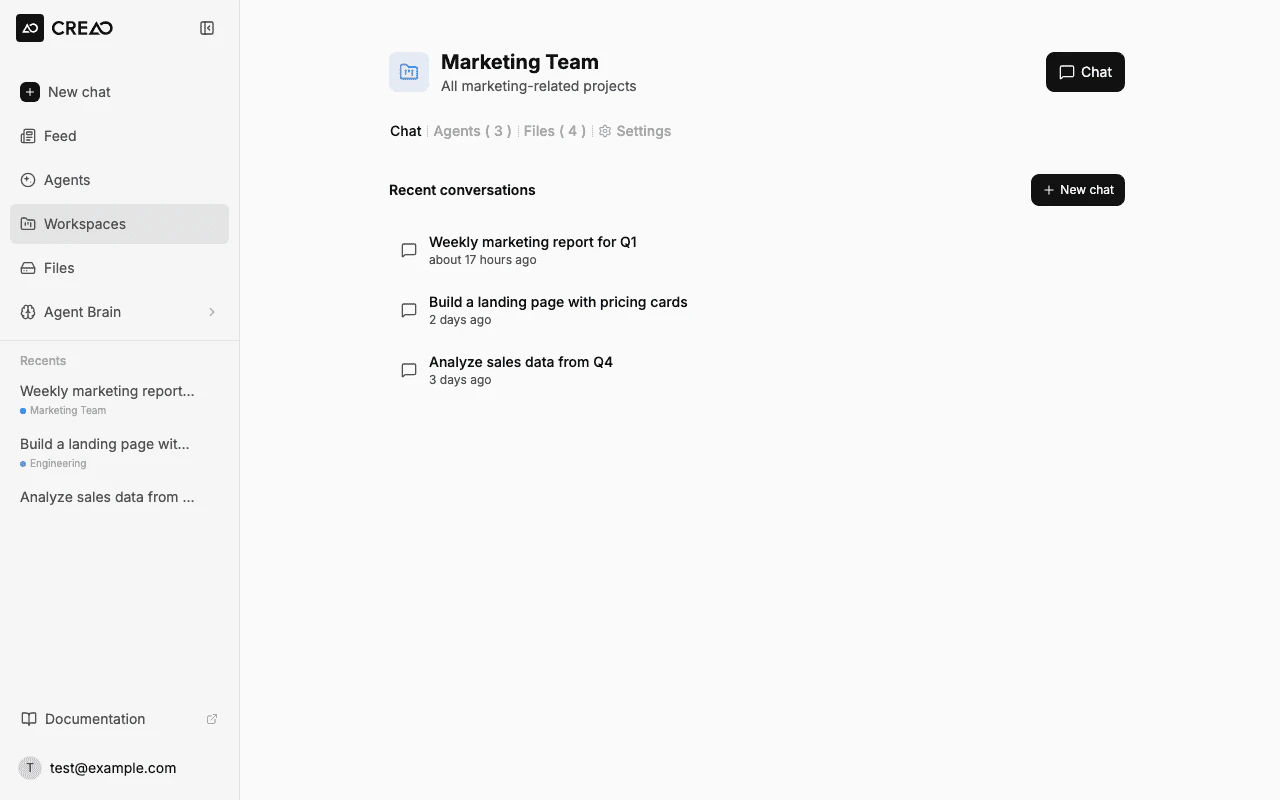
Active workspaces appear in the sidebar under the Workspaces section. Clicking a workspace name opens its edit panel. Below each workspace, you’ll see:- Recent threads — chat conversations that were started in the workspace context
- Quick actions — start a new chat within the workspace, or jump into the edit panel